Plan for today
- Homeplay 2 Presentations
- Animation
- Scene Changes
Importing sprites, Animation, Frame animation

If you’re using software (or a plugin) that exports to a sprite sheet (i.e. packing multiple sprites into a single image file), then you don’t need to worry as much about exporting techniques. If not, there are some things you can consider when authoring your sprites to make things easier down the line.
Sprite sheet for Sonic the Hedgehog character animations.
Animation in Unity

Not just limited to frame-animations in sprites, the Unity animation system allows you to create keyframe animations that control component properties and trigger functions. For objects that have multiple animations that need to be triggered based on the conditions of the scene, the system comes with a state machine to manage triggering animations.
Keyframe animation with properties
Let’s get started by animating a circle to move back and forth on the screen.

Starting with an empty scene and a 2D circle sprite:
-
Add the “Animation” tab to the editor by clicking the three dots on the top right of an existing panel, then Add Tab > Animation (you can also go to Window > Animation > Animation)
-
In the Animation tab, with the Circle selected in the hierarchy, click Create and save the new animation in your assets.
This will create an Animation Clip and an Animator Controller in your project assets. It will also automatically add an Animator component to the Circle game object and with the Animator Controller set in the controller property. You can leave the default settings for now.
-
The Animation tab should now show a button that lets you assign a property to animate. Click the Add Property button and select Transform > Position to add the position property to the timeline.
If you click off the Circle game object, you’ll notice that the Animation tab goes back to the empty state from Step 2. Make sure that you have the object you want to animate selected.
-
Record some keyframes. Press the red Record Button on the top left of the Animation tab. Move the circle to a “starting position”. Since the playhead in the Animation tab is currently at frame zero of the animation this will set the object’s position at the start.
If you drag the playhead towards the end of the end of the timeline, you’ll see the position of the object animating back towards its original position.
-
Move the playhead to the halfway point and move the circle’s position to a different position. This will add new position keyframes to the timeline. De-activate the Record Button.
- Now select the keyframes at the starting position, copy them (ctrl/cmd + c), move the playhead to the final frame of the animation, and paste (ctrl/cmd + v) the keyframes.
- You should now have a looping animation. Preview it by clicking the play button on the Animation tab. The Animator Controller is also set to start the animation as soon as the object is active in the scene, so pressing the global play button also plays the animation.
-
You can scale the length of the animation by selecting all the keyframes and dragging on one of the ends. Dragging to the right will also expand the overall animation length.
-
You can view the Animation Controller in the Animator window by double clicking the “Circle” animation controller in the Project tab. Or with the Circle selected in the hierarchy, you can open the Animator window with Window > Animation > Animator


There is only one clip for this controller, so there isn’t much to see. But you can select the clip and modify its settings in the inspector (for instance scaling the speed of the clip).

Frame Animation with sprites
By animating which sprite is displayed in the SpriteRenderer component, you can create frame animations of sprites.
Exporting individual sprites
The most common workflow for generating your sprites is to have each individual sprite on a separate layer in photoshop and then to export each layer as a separate PNG file. This is done using Export > Layers to Files…

You’ll end up with something like this:

And then you’ll need to organize groupings of sprites in your Unity project using folders or repacking sprites using an atlas .
Sprite sheets
The sprite atlas mentioned above is a way to combine all of the individual sprites onto a single texture for more efficient loading and unloading of texture files. This is known as a sprite sheet.
It is not uncommon to create the sprite sheet within another program and exporting all your sprites as a single image file.
Usually sprites are packed into a grid. When importing into Unity, you’ll set the sprite import settings to read the file as “multiple” in order to chop up the single file into individual sprites.
Here’s the sliced up grid for the previous sprite:
![]()
We’ll get into the details of the sprite importing process after talking about another method for importing sprites.
Spriters-resource is a good place to see lots of examples of sprite sheets from lots of games.
Directly importing sprites from photoshop
But, when using the 2D (URP) template, Unity includes a number of 2D specific packages that might be useful to reduce importing headaches.

The 2D PSD Importer package helps out with mapping Photoshop layers to sprites, for both generating sprite sheets and rigged characters.
Here is a quick overview of what the package is capable of. For this demo, we’ll only be bringing in sprites for use in frame animations.
With the importer package, you don’t need to manually create a tiled sprite sheet, where each frame of the animation is placed on a grid (see above sheets). Instead, create each sprite on its own layer and Unity will handle how the sprite should be broken up in the import settings.
-
Create a simple character with a two-frame idle animation. Place each frame in a separate layer. You can group the layers and name them based on the animation type. Unity will bring over these names. Important: Make sure all layer names are unique (even hidden ones).
-
Save the entire scene as a PSB file. This is nearly identical to a PSD file, but can handle larger files. Unity will only import these types of files. You can save it directly to your project’s assets folder.
Save as type > Large Document Format (*.PSB)
- Back in Unity, click on the PSB file in the Project tab to bring up the import settings in the Inspector.
- Make sure to have the following settings:
- Sprite Mode: Multiple
- Pixels Per Unit: 100 (this depends on what resolution you are working at)
- Import Mode: Individual Sprites (Mosaic)
- Use as Rig: False (unchecked)
- Filter Mode: Point (no filter) – this is if you want crisp pixel edges
-
Compression: None (fixes color issues – for very low res pixel art)
- Hit “Apply” and then click on the Open Sprite Editor to see how your sprite was imported.
-
You should see bounding boxes around each separate sprite. For a character like this, it’s important to have the pivot at the base of the sprite. Select each box and change the pivot to Bottom Center. For other sprites you’ll want to keep the pivot in the center or move it to another part of the sprite.
- Import some more sprites that you might want to include in your scene. I found some clouds. Because we started the Project in the 2D template, all images will be imported as sprites by default. You can import new sprites separately or play with packing similar sprites into a single PSB file.


Here’s an example of a bunch of different clouds all imported together and how the resulting sprite sheet turned out:


Creating Idle animation with Sprites
Adding the idle animation to the character.
- Drag the first sprite of the character into the scene (or grab a 2D sprite sheet elsewhere).
- Name this GameObject “Player”
- With the GameObject selected in the Hierarchy, open the Animation tab Window > Animation > Animation.

- In the Animation window, click “Create” and save the new animation as “player_idle” (It’s a good idea to create an Animation folder to store all of the animation clips and controllers). There should now be an Animator component on the Player GameObject.
- With the Animation window still open, select all the frames of the idle animation in the Project tab and drag them into the timeline of the Animation window. You should see a keyframe for each of the sprites.

- Preview the animation by pressing the Play button in the Animation window. It will be really fast. You can slow down the animation by reducing the Samples value to 5 or less. If you don’t see the Samples area, click the three dots on the right side of the Animation window timeline and select “Show Sample Rate”

- The character should now have an idle animation. Press play in the scene view and the animation will start with the scene.
Scenes, Loading, Changing
This demo heavily references this demo game. But most concepts will work with the Flat Game Template from a few classes ago.
If you want another Unity project to pick apart, feel free to download the other demo package and import it into your existing 2D unity project or a new project (2D URP template, add input system package)

Here is an overview of the different scenes and how they are connected.
Start Screen or Title screen
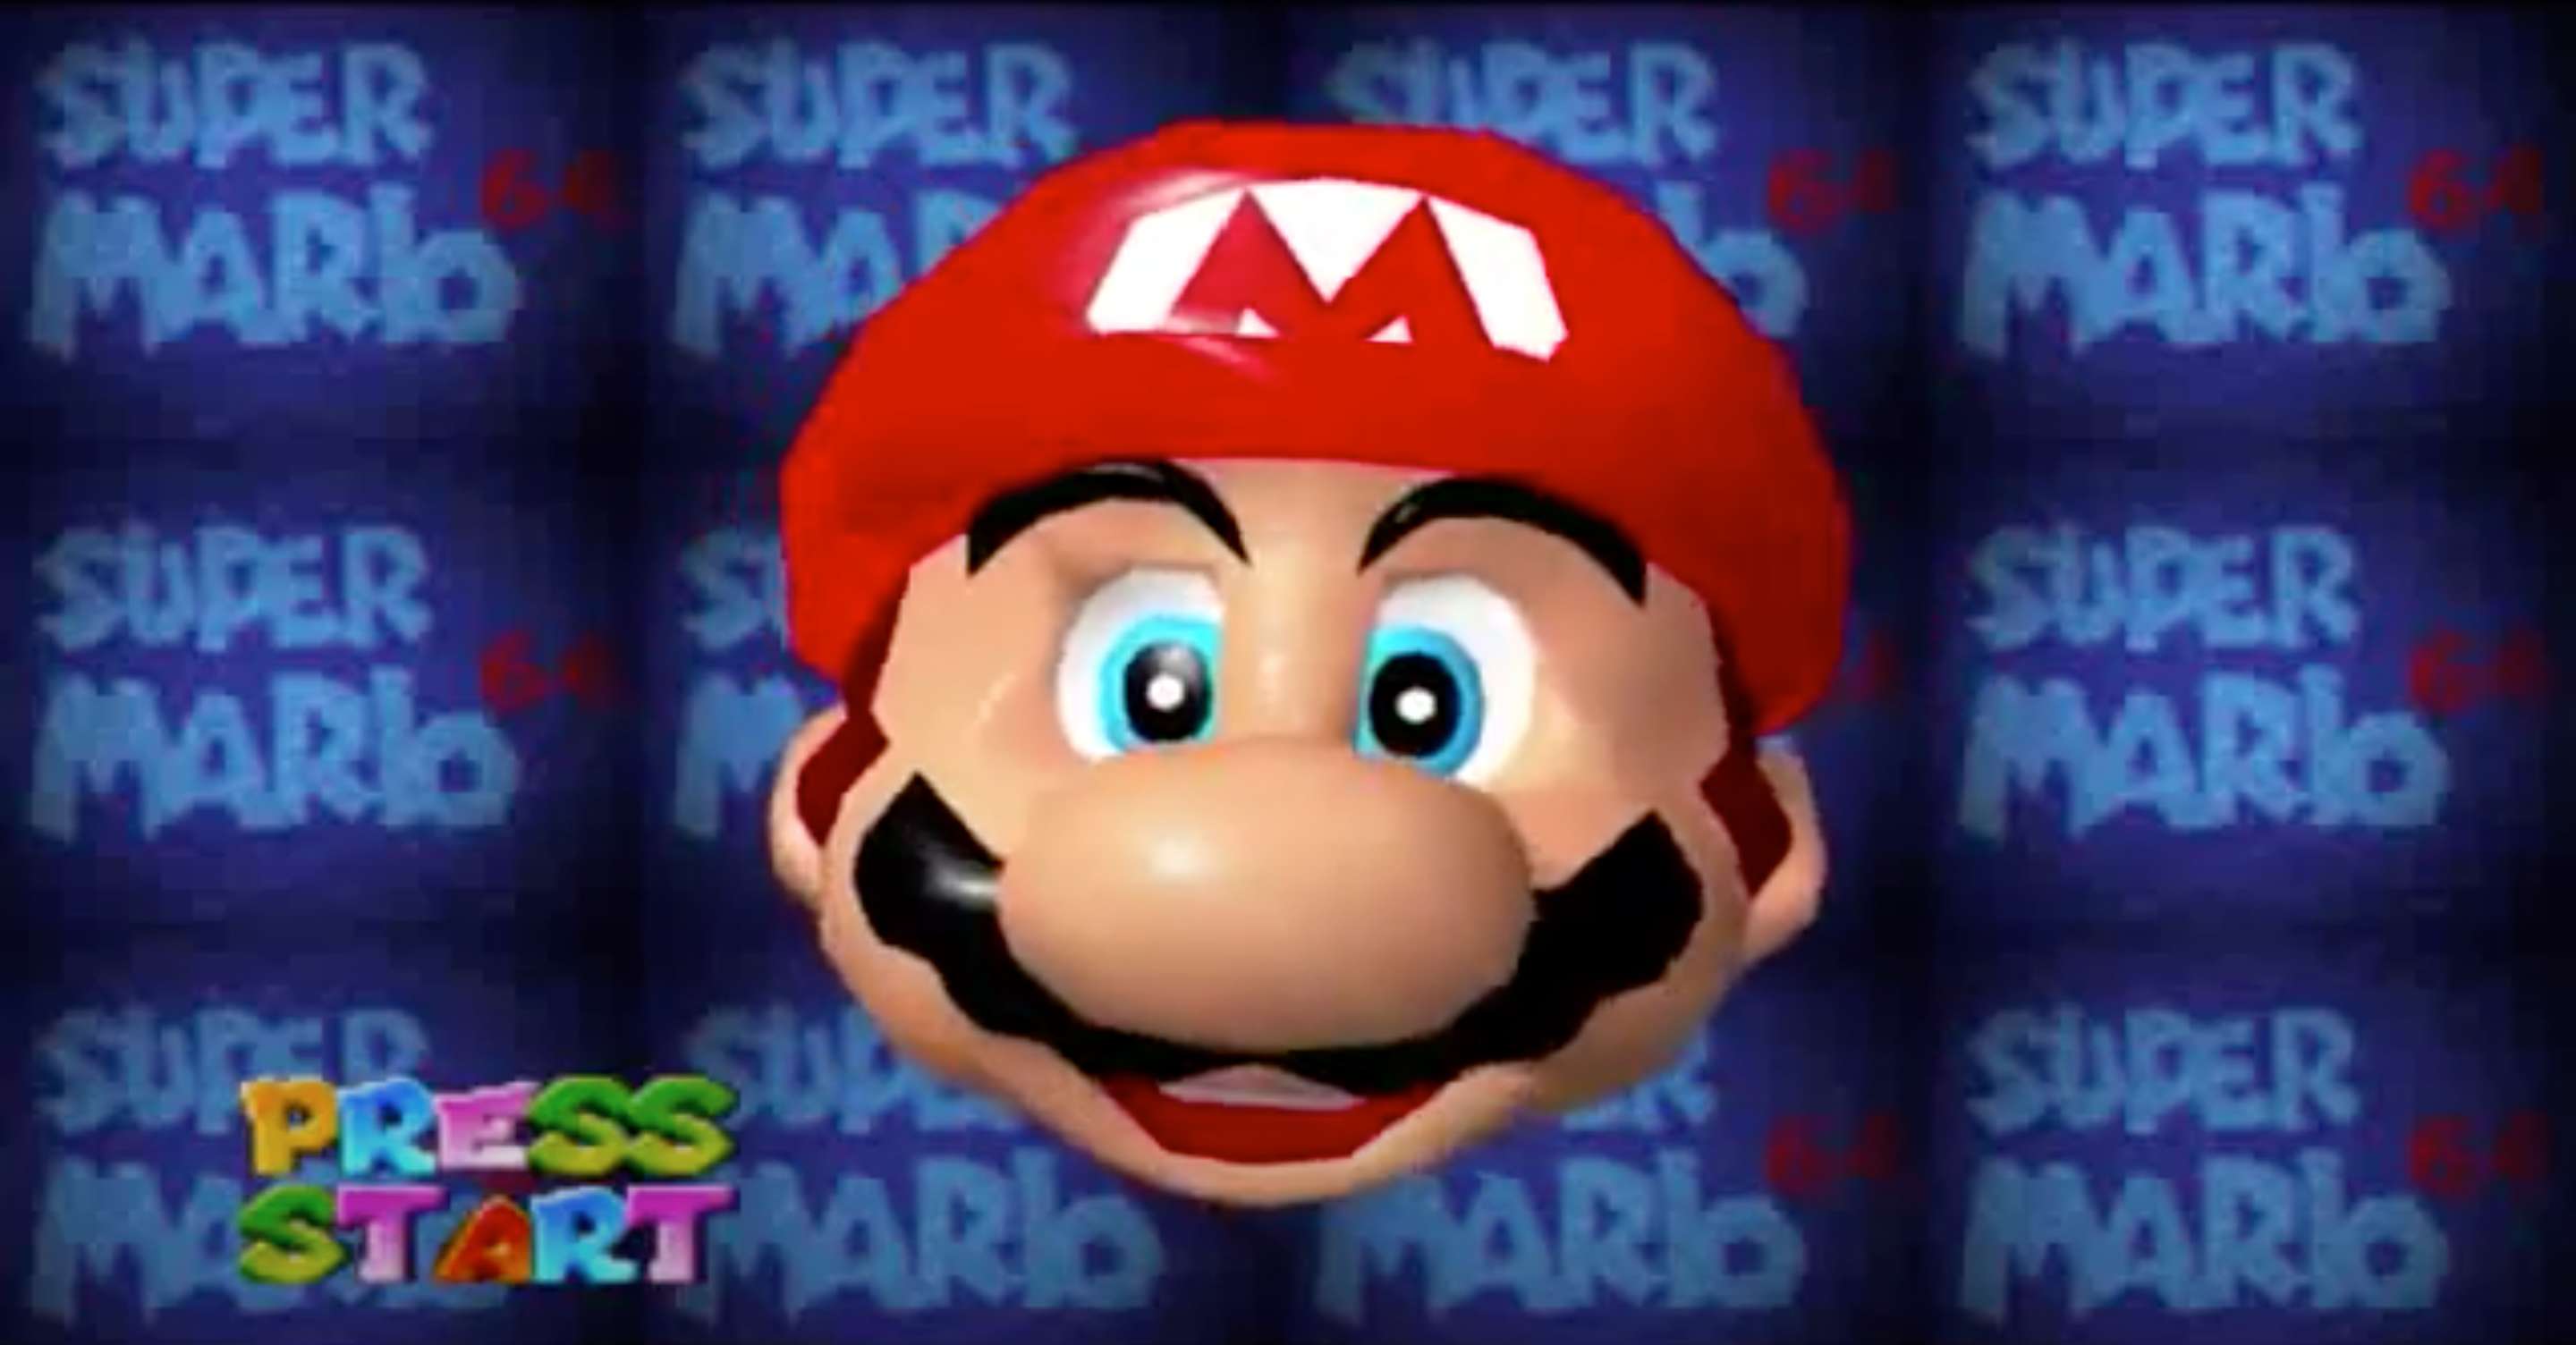
People have made web-based versions of just the SM64 title screen.
This can be any sort of text and image combination. You really can include whatever you would like in this scene (a player controller, video, animation, a mini-game).
In the example game, I’ve set it to check the current high score and blink some text. In the Flat Game Template, there’s just some text and a script which makes other text fade in and out.
Both demos have a way to detect a key input and change scenes. Let’s take a look at how it works.
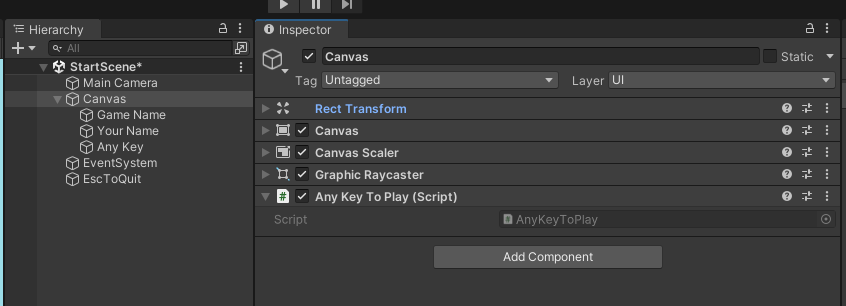 Flat Game Template start screen - The AnyKeyToPlay Script is attached to the Canvas game object. It only detects the space bar, so we can change it to work with any key using the new input system.
The AnyKeyToPlay script directly loads the next scene in the build settings:
using UnityEngine;
using UnityEngine.SceneManagement;

namespace DesmaDemos
{
    public class AnyKeyToPlay : MonoBehaviour
    {
        void Update()
        {
	        // note that this is for space bar only
            if (Input.GetKeyDown(KeyCode.Space))
            {
                SceneManager.LoadScene(1);
            }
        }
    }
}
Changing scenes involves the Unity Scene Manager which requires
Using UnityEngine.SceneManagement;
Scenes can be loaded by name SceneManager.LoadScene("StartScene"); or by their build index (as above). Scenes need to be added to the build before they can be loaded by the scene manager
Open the Build Settings (File > Build Settings) and drag the scenes you would like to include with the game into the Scenes In Build section

The build index for each scene is listed on the right side.
How is the demo game using this?

The demo game has the StartGame script which begins the game using a GameManager (more on this in a second) script. It detects keyboard input using the new input system:
using UnityEngine;
using UnityEngine.InputSystem;
public class StartGame : MonoBehaviour
{
	void Update()
	{
		if (Keyboard.current.anyKey.wasPressedThisFrame)
		{
			GameManager.Instance.StartGame();
		}
	}
}